In emergency situations where someone’s life is at risk, the ability to perform Cardio-Pulmonary Resuscitation (CPR) can make all the difference. As a first aid training and safety service, we are committed to equipping individuals with the knowledge and skills necessary to respond effectively in these critical moments.
Whether you are a healthcare professional, a concerned parent, or a responsible citizen, learning CPR is a valuable skill that can make a tremendous difference in emergencies. By understanding and mastering the steps of CPR, you become an essential link in the chain of survival, offering vital assistance until advanced medical care can be administered.
In this blog, we will walk you through the 10 essential steps of conducting CPR, providing you with the information and guidance you need to potentially save a life.
Step 1: Assess the Situation
Before jumping into action, it is crucial to assess the situation and ensure your safety. Look for any potential hazards or risks, such as a dangerous environment or ongoing threats, and address them appropriately. Assess the victim’s responsiveness by gently tapping their shoulder and asking if they are okay. Make sure you soon progress to the next step.
Step 2: Call for Help
Contact emergency medical services (EMS) or ask someone nearby to make the call. Provide accurate details of the situation, including the victim’s condition and location. Promptly activating professional medical assistance is vital for the victim’s chances of survival.
Step 3: Open the Airway

Make sure your patient is on a flat and sturdy surface. Tilt their head back gently by lifting their chin to open the airway. Check for any visible obstructions, such as foreign objects or vomit, and remove them carefully to ensure a clear airway.
Step 4: Check for Breathing
Place your ear above the victim’s mouth and nose, simultaneously observing their chest for any signs of breathing. Listen for sounds of breathing, feel for airflow, and watch for chest movement. Do this for no more than 10 seconds. If there are no signs of breathing or only gasping, assume the victim is not breathing effectively.
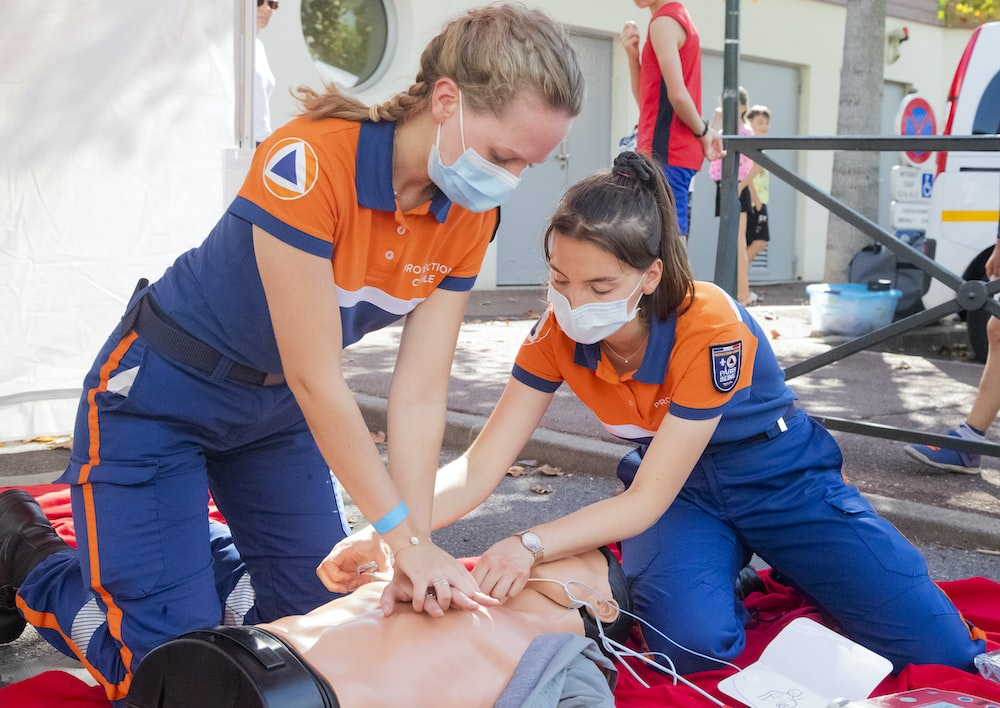
Step 5: Start Chest Compressions
Position your hands in the center of the victim’s chest, placing the heel of one hand on top of the other. Depress the chest at least 2 inches (5 centimeters) with each compression, allowing full recoil between compressions. Maintain a compression rate of 100-120 compressions per minute, aiming for 30 compressions in a cycle.
Step 6: Provide Rescue Breaths
After 30 compressions, establish an open airway using the head tilt-chin lift technique. Hold the patient’s nose, ensure that you take a deep breath, and create a seal around their mouth. Pinch the victim’s nose closed, take a deep breath, and form a tight seal around their mouth with your lips. Deliver two rescue breaths, each lasting about one second and causing a visible chest rise. Ensure adequate chest recoil between each breath.
Step 7: Continue Cycles of Compressions and Breaths
Resume compressions immediately after the rescue breaths. Continue cycles of 30 compressions followed by two rescue breaths until professional help arrives, an AED (Automated External Defibrillator) becomes available, or the victim shows signs of life.
Step 8: Use an AED, if Available
If an AED is accessible, turn it on and follow the device’s voice prompts. Apply the adhesive pads to the victim’s bare chest as indicated. Ensure no one is touching the victim during analysis or shock delivery. If a shock is advised, make sure no one is in contact with the victim, and deliver the shock according to the AED’s instructions.
Step 9: Hand Over to Medical Professionals
When professional medical help arrives, provide them with a clear and concise report of the events and actions you have taken. Collaborate and follow their instructions to ensure a seamless transition of care.
Step 10: Post-Event Support
After participating in a CPR event, it is essential to seek support for yourself. Such experiences can be emotionally challenging, and taking care of your mental well-being is crucial. Reach out to friends, family, or counseling services to help process your emotions.
Check Out Metro Safety for Medical Trainings & More!
By undertaking OFA Level 3 training, you not only invest in your personal and professional growth but also contribute to creating safer environments for yourself, your loved ones, and the community as a whole. Remember, being prepared can make all the difference when it comes to emergencies.
So, if you’re looking for a place in Vancouver that provides excellent occupational first aid courses, get in touch with Metro Safety today. We also provide first aid level 1, 2, and 3 courses, in addition to confined space training and fall protection safety plans.